The Best Caprese Sliders Recipe with Balsamic Glaze
One of my favorite holiday appetizers is ham and cheese sliders on Hawaiian rolls, but I’m being honest, I don’t really crave them in the summertime. So I decided to create a summery riff on the holiday classic. After some trial and error, the BEST CAPRESE SLIDERS RECIPE WITH BALSAMIC GLAZE was born!
These caprese sliders use just a few ingredients, so they are the perfect, easy app to make for the summer hosting season. With layers of fresh produce and bright flavors, they taste like summer in one bite.
**This post may contain affiliate links. The cost to you doesn’t change, but I may make a small commission from items purchased.
What Makes This Recipe Great
This is our version of summertime comfort food. The ingredients are fresh and bold as you would expect in a caprese salad, but because they are baked on rolls, the recipe as a whole is cozy and delicious! And like their fall/winter holiday counterpart, the ham and cheese slider, they are always a crowd pleaser.
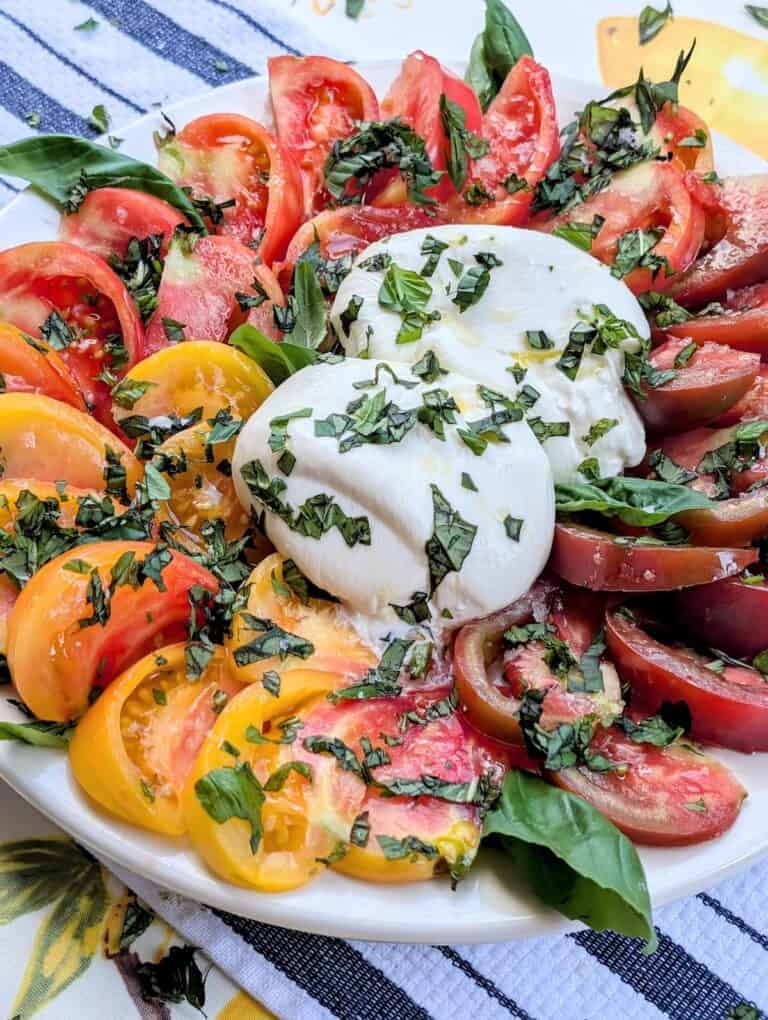
The combination of ripe tomatoes, creamy mozzarella, and herby basil is the perfect flavor combination, and there is very little prep work involved. Simply slice the rolls, layer them up and bake. The perfect finger food for serving at any party or for a simple meal at home.
How to Make Caprese Sliders with Balsamic Glaze
Equipment:
- Cutting Board (I love this cutting board)
- 2 QT Baking Dish (this is the baking dish I use)
- Serrated Knife
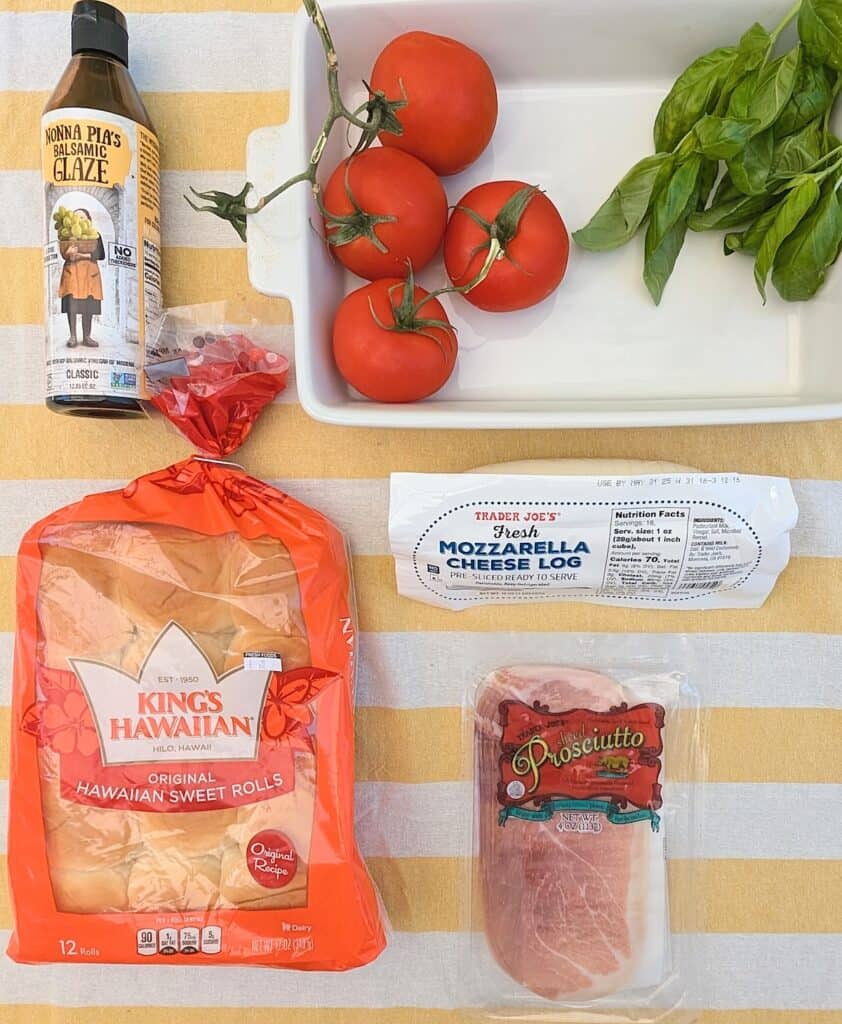
Ingredients
- Hawaiian Slider Buns
- Prosciutto (optional)
- 2-3 Fresh Tomatoes (I prefer smaller Roma tomatoes)
- Fresh Mozzarella Cheese Slices (I buy a pre-sliced log)
- Fresh Basil Leaves (extra chopped basil for garnish)
- Balsamic Glaze (this balsamic glaze is one of my favorite)
- Extra Virgin Olive Oil (for brushing on the buns, this is my favorite EVOO)
- Salt & Pepper (to taste)
Instructions
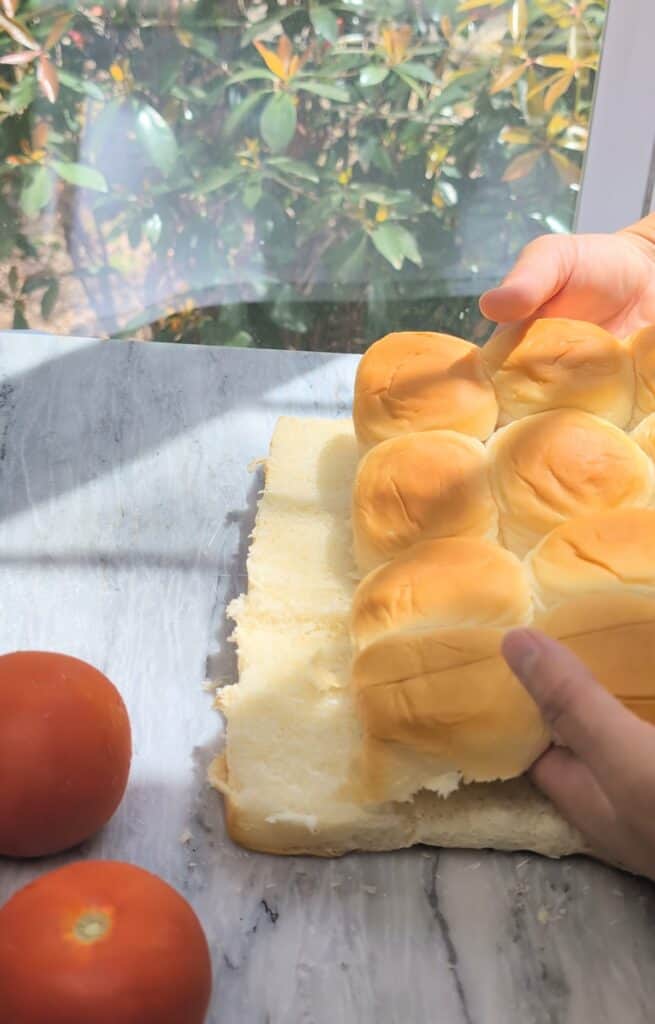
- Using a serrated knife, cut the tops off the Hawaiian rolls and set aside.
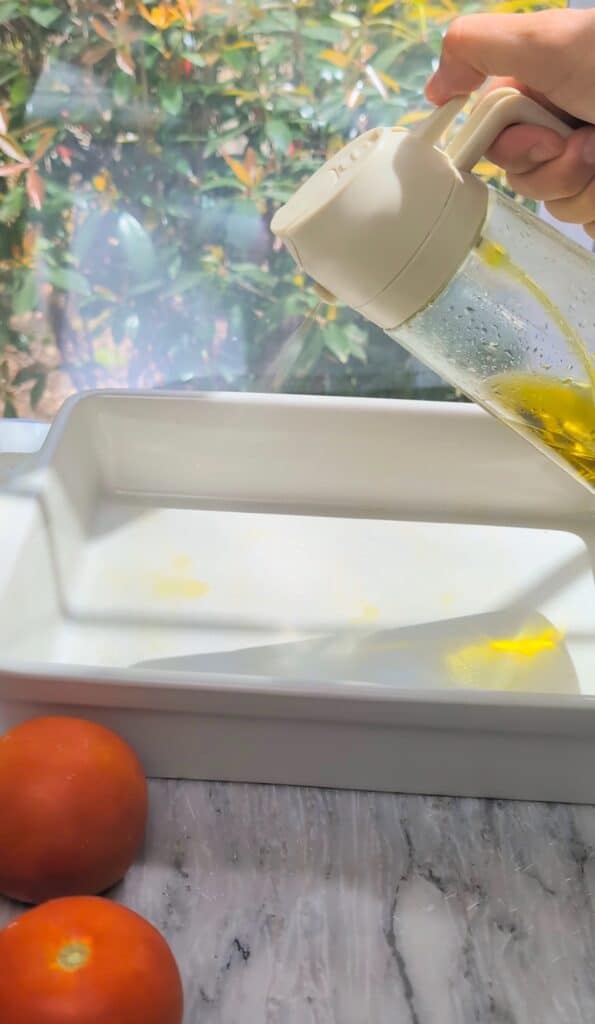
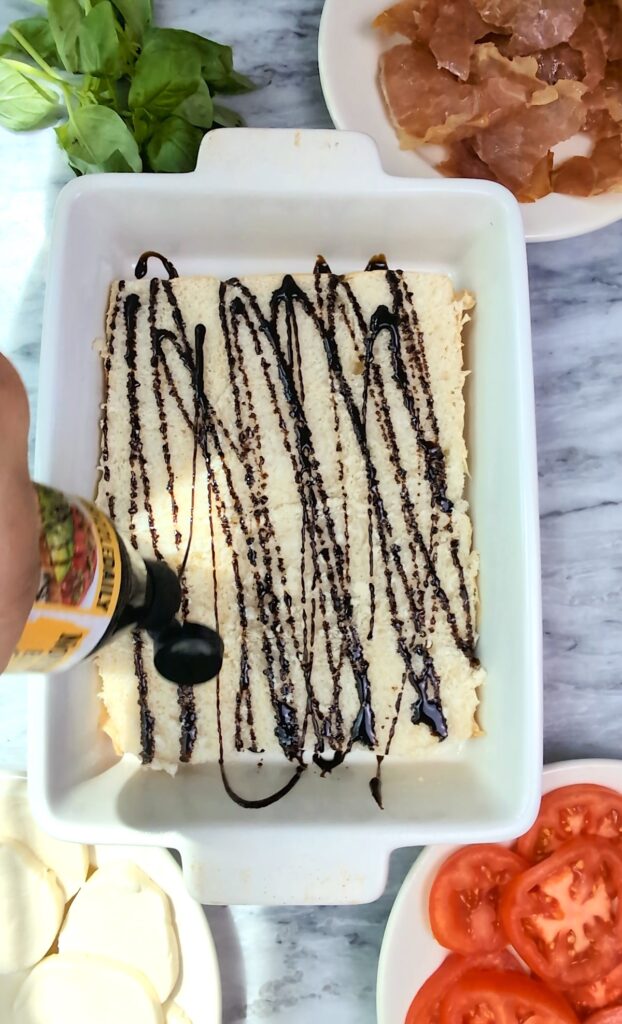
- Place the bottoms of the rolls in a lightly greased baking dish and drizzle with balsamic glaze. (I love my oil sprayer)
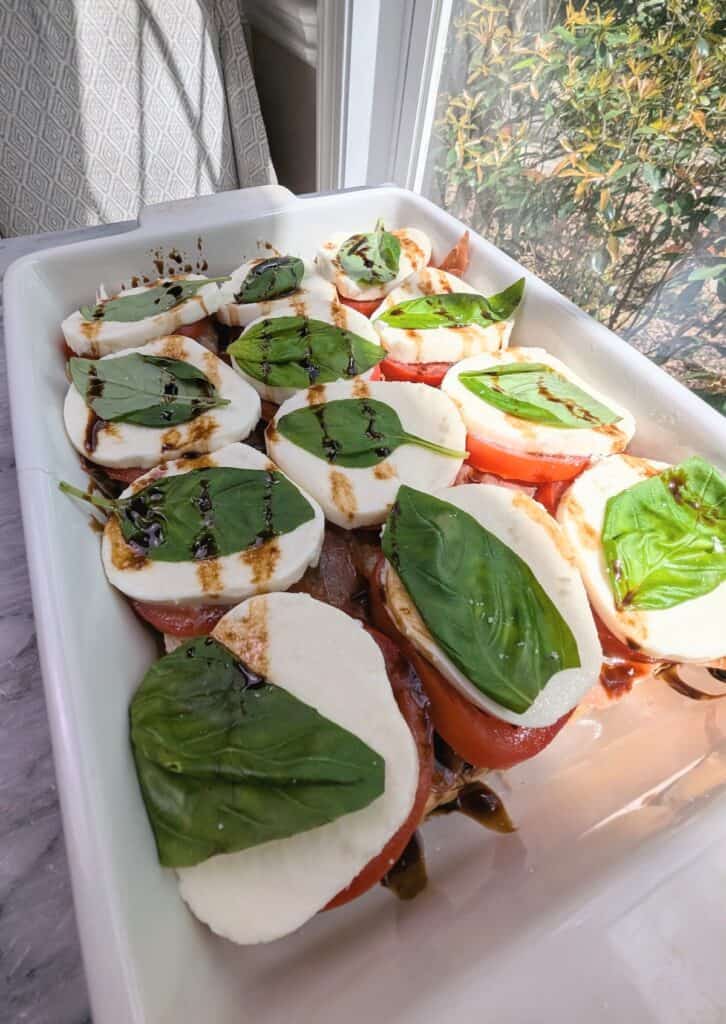
- Layer prosciutto (if using), tomato slices, mozzarella, then basil leaves on the bottoms of the rolls. Drizzle again with balsamic glaze. Sprinkle with salt and pepper.
- Place the tops of the rolls on the sliders. Brush with EVOO.
- After the sliders are assembled, use your serrated knife to cut through the sliders so they will come apart more easily after baking.
- Bake at 350 degrees for 25 minutes or until the tops of the buns are golden brown and the mozzarella is melty.
Pro Tips
- Cut the sliders vertically and horizontally, along the lines of the buns, so that they are easy to pull apart and serve after baking.
- Use room temperature ingredients. Bringing the mozzarella and tomatoes to room temperature allows the sliders to heat and the cheese to melt more evenly.
- Lightly toast the buns first. I don’t do this very often because I’m too lazy, and I don’t mind if the bottom buns are a little moist, but you can lightly toast the bottom buns before assembling and baking the sliders to help prevent them from being soggy.
- Add a sprinkle of sea salt and several cracks of black pepper to enhance the flavor before placing the buns on top.
Riffs & Swaps
Add Prosciutto. Layer thin slices of prosciutto inside for a salty, savory twist that pairs beautifully with the fresh caprese flavors.
Switch Up the Greens. If you don’t like basil, substitute arugula or baby spinach leaves.
Vegan Version. Use a vegan mozzarella alternative and a balsamic glaze without honey to make this slider recipe suitable for plant-based diets.
Spice It Up. Add a few red pepper flakes or chili oil if you enjoy a little heat.
What To Serve With Caprese Sliders
A simple mixed green salad or roasted vegetables make great additions to the sliders if you’re serving as a meal. If you prefer something lighter, a side of fresh fruit or fruit salad will work. Otherwise, serve alongside other appetizers when you’re hosting or bring them to a potluck.
I think these caprese sliders work well with dry white wine or a full-bodied red wine. Of course, a good spritz or a classic bubbly are always great options!
Freezing, Storing & Leftovers
Freezing. I like to freeze leftover sliders in the baking dish I cooked them in. When you’re ready to serve, thaw them in the refrigerator, and once thawed, put them in a cold oven and bring the oven to 350 degrees or until the sliders are warmed through and the buns are toasty.
Storing. If you have leftovers, store the assembled sliders in an airtight container in the fridge for 2-3 days. When ready to serve, warm up in the oven and add an extra drizzle of balsamic glaze if needed.
Reheating. The best way to reheat is in the oven as described above. Make sure to cover sliders with foil. You can remove the foil when the sliders are almost warmed through, so the buns get toasty. You can reheat in the microwave too.
The Best Caprese Sliders Recipe with Balsamic Glaze
Ingredients
Equipment
Instructions
- Using a serrated knife, cut the tops off the Hawaiian rolls and set aside.
- Place the bottoms of the rolls in a lightly greased baking dish and drizzle with balsamic glaze.
- Layer proscuitto (if using), tomatoes, mozzarella, then basil leaves on the bottoms of the rolls. Brush tops. Sprinkle with salt and pepper.
- Place the tops of the rolls on the sliders. Then, use your hand to hold the rolls in place and cut through the sliders with your serrated knife so they come apart easily after baking.
- Brush the tops of the rolls with EVOO
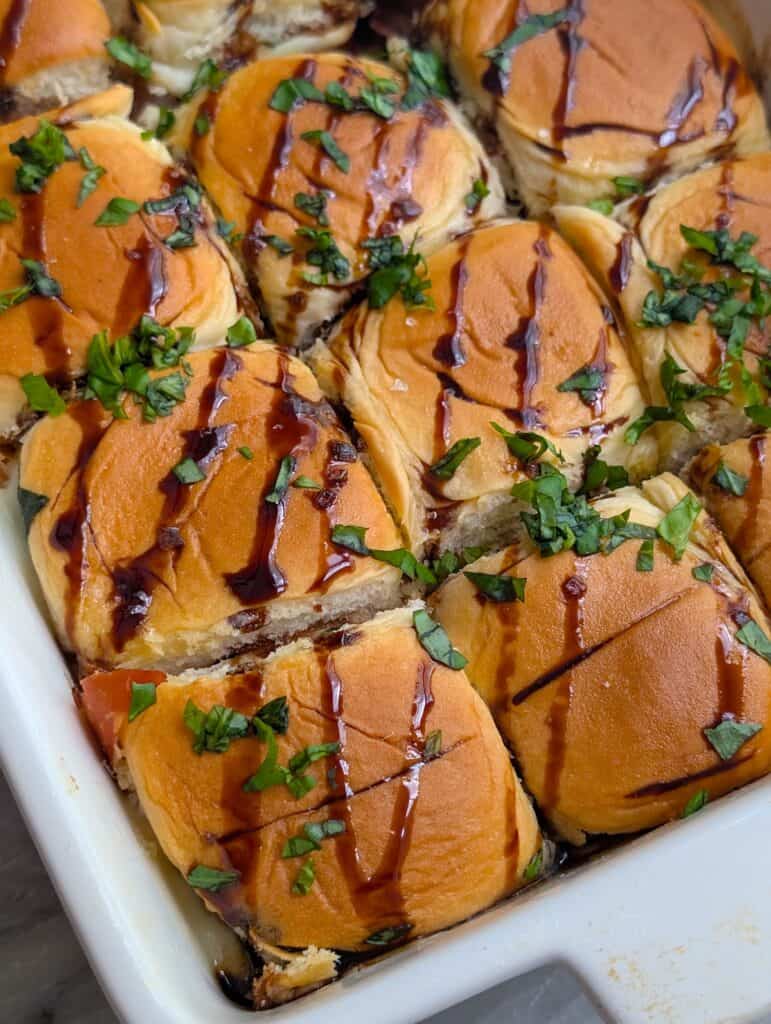
- Bake at 350 degrees for 25 or until the tops of the buns are golden brown and the mozzarrella is melty.
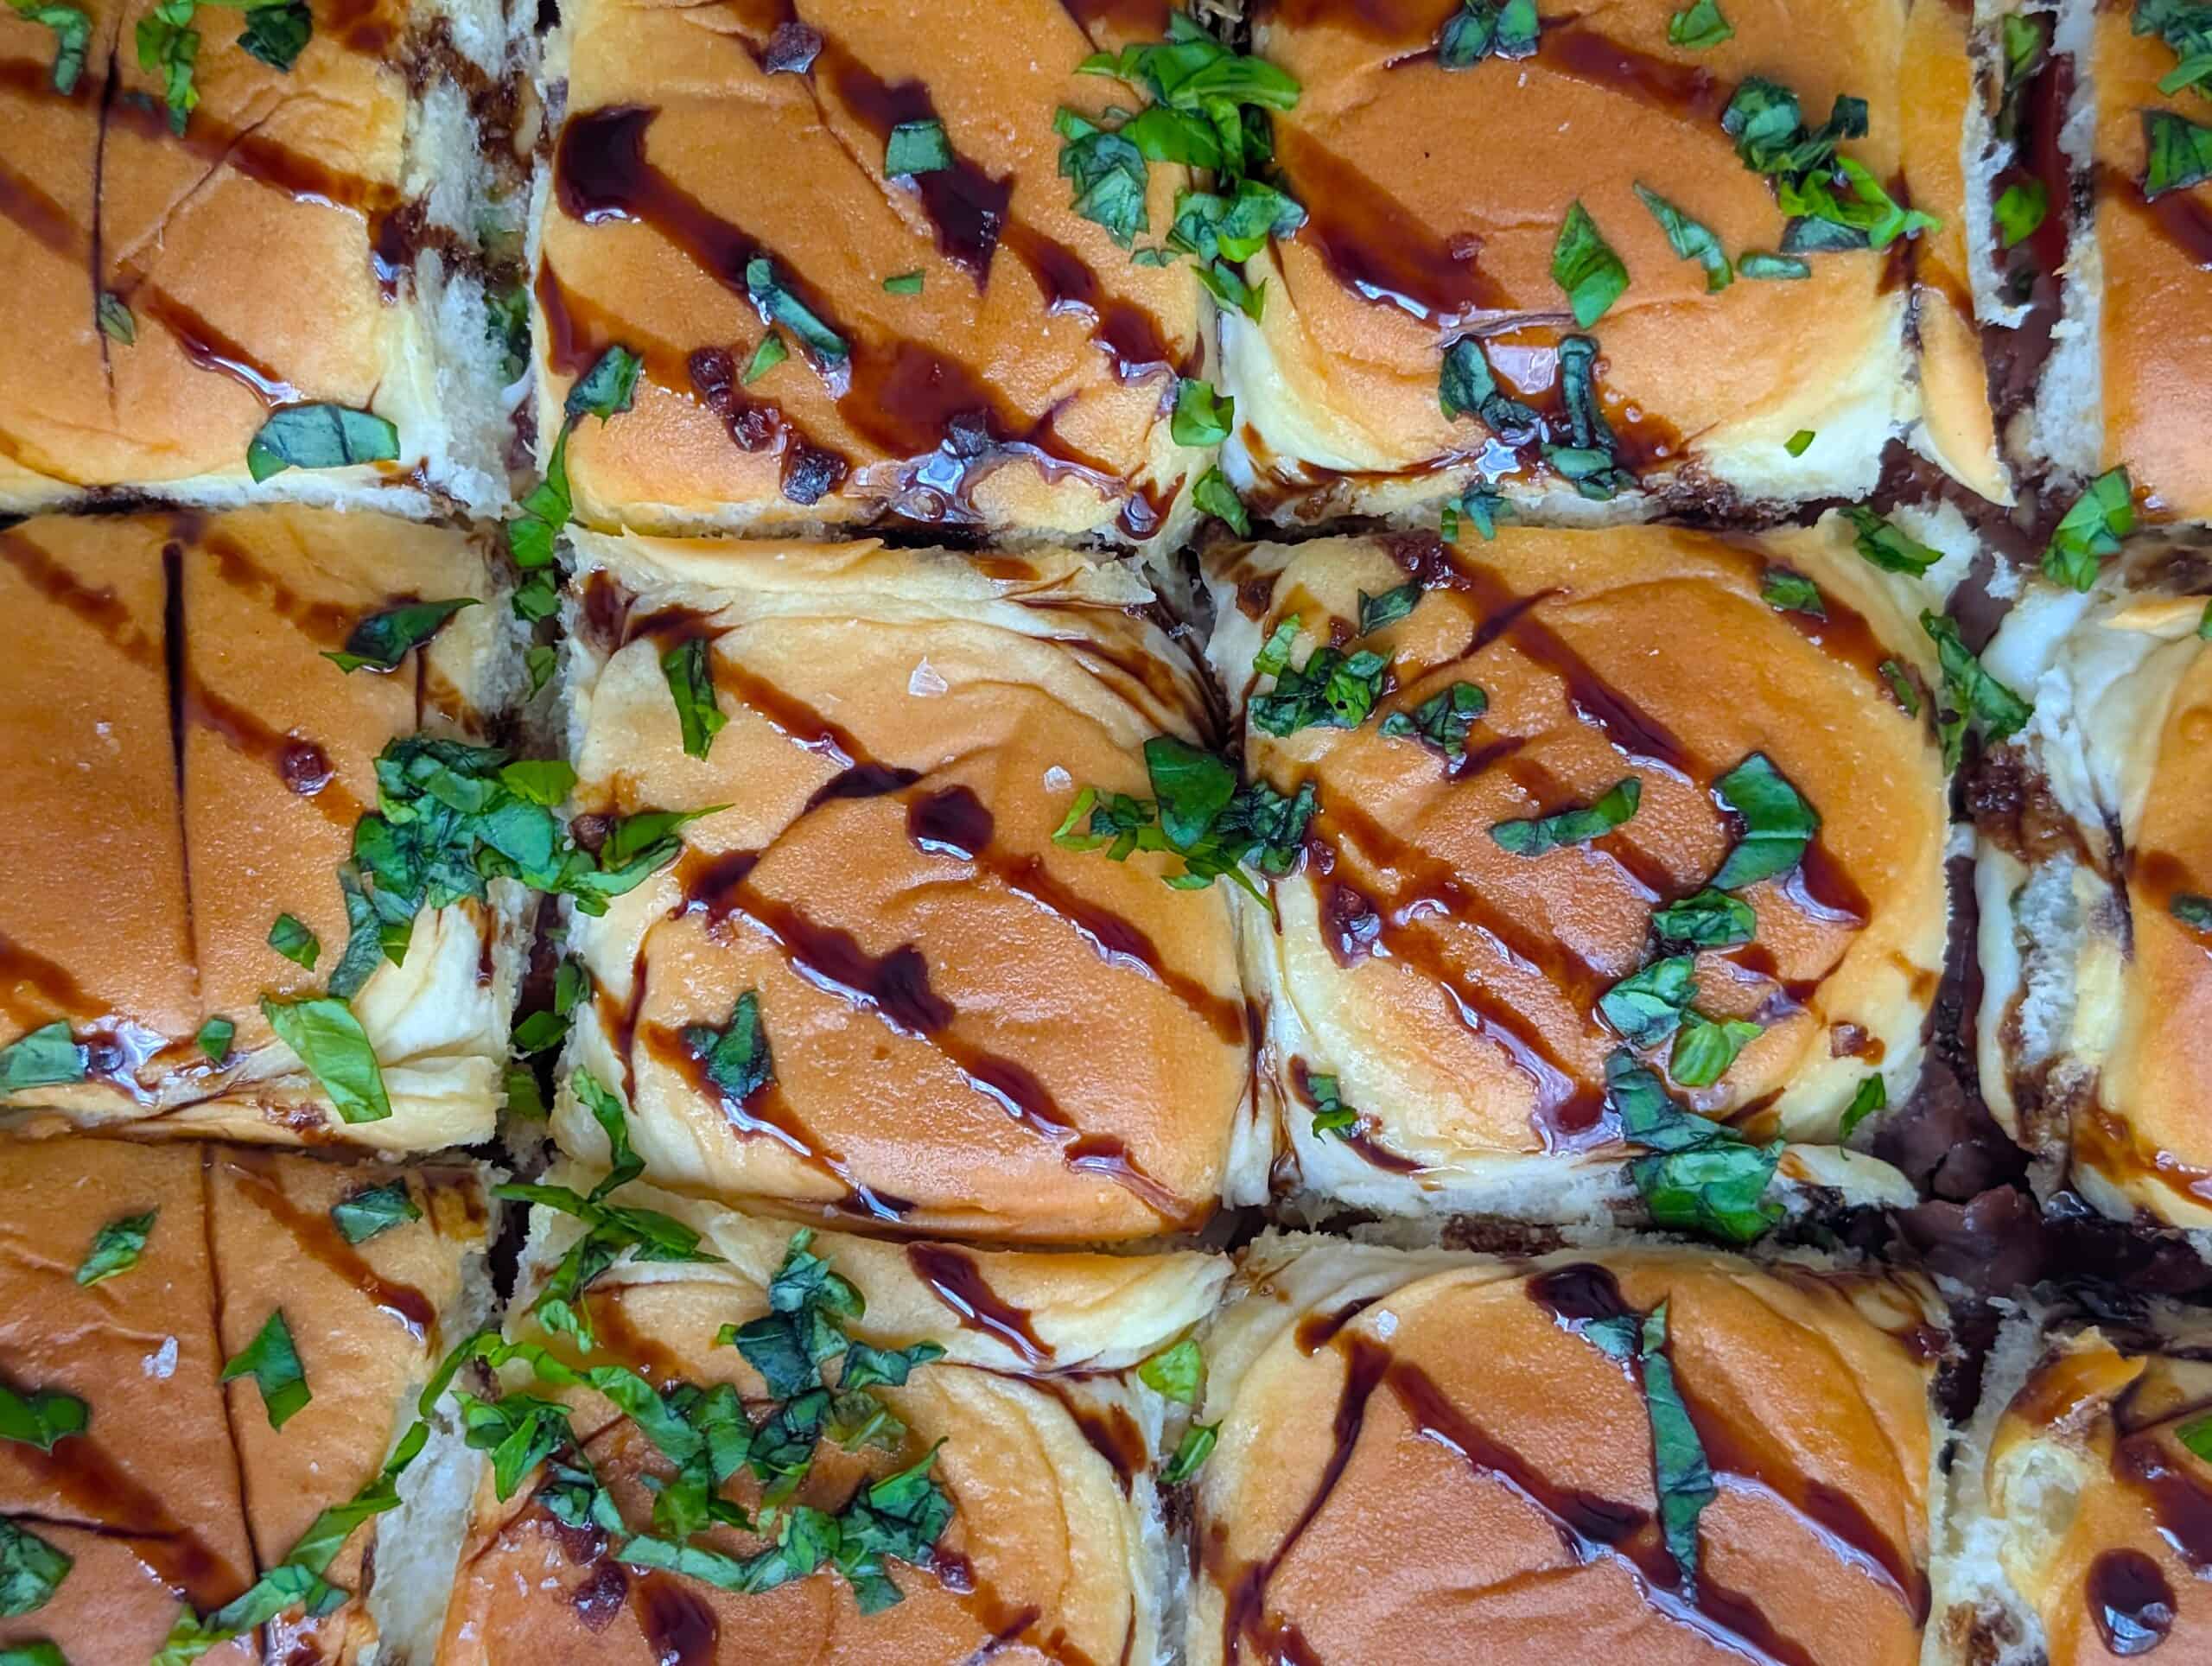
- Drizzle with balsamic glaze and garnish with chopped basil. Serve and Enjoy!
Notes
Caprese sliders are a delicious way to enjoy fresh summer ingredients and a perfect appetizer that will impress your guests (and your family, too!). We’d love for you to give them a try and let me know in the comments below how you liked them!
Looking for more easy and delicious party apps? Check out my Caprese Salad Bites, Watermen Feta Skewers and Buffalo Chicken Bites!
Cheers!