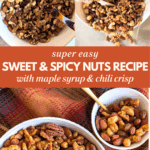
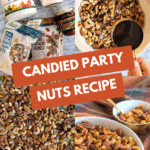
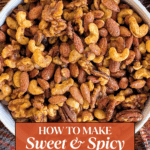
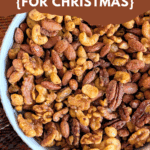
Candied Sweet and Spicy Nuts Recipe


A quick 15-minute snack that’s sweet, spicy, salty … and perfect for entertaining.
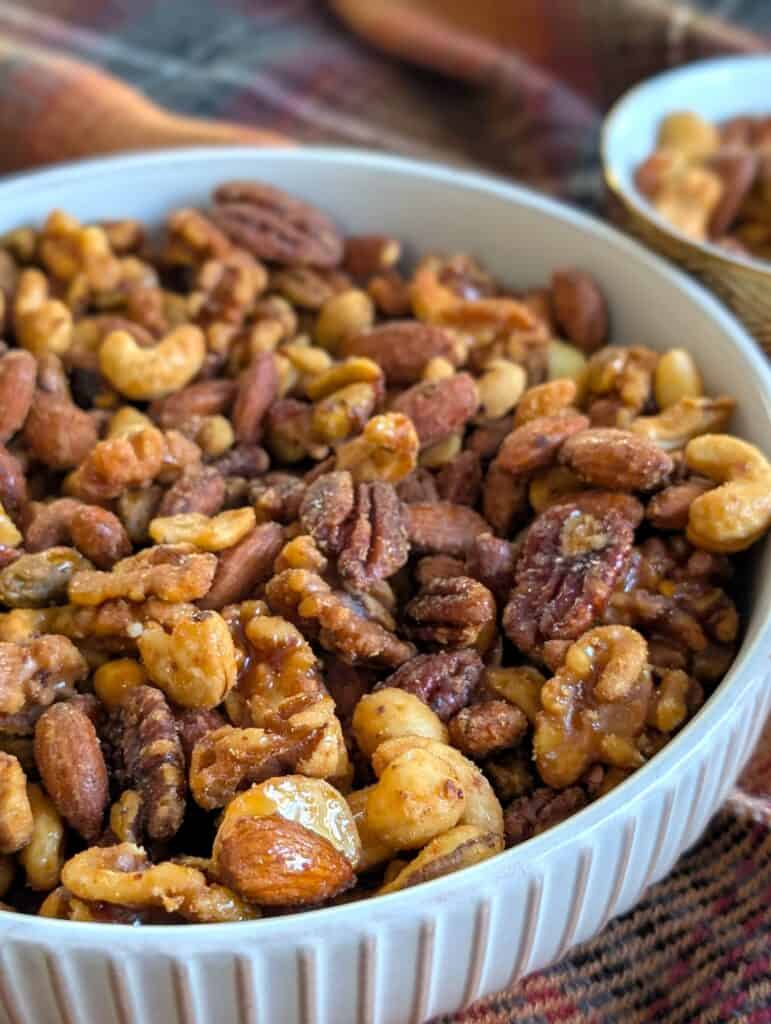
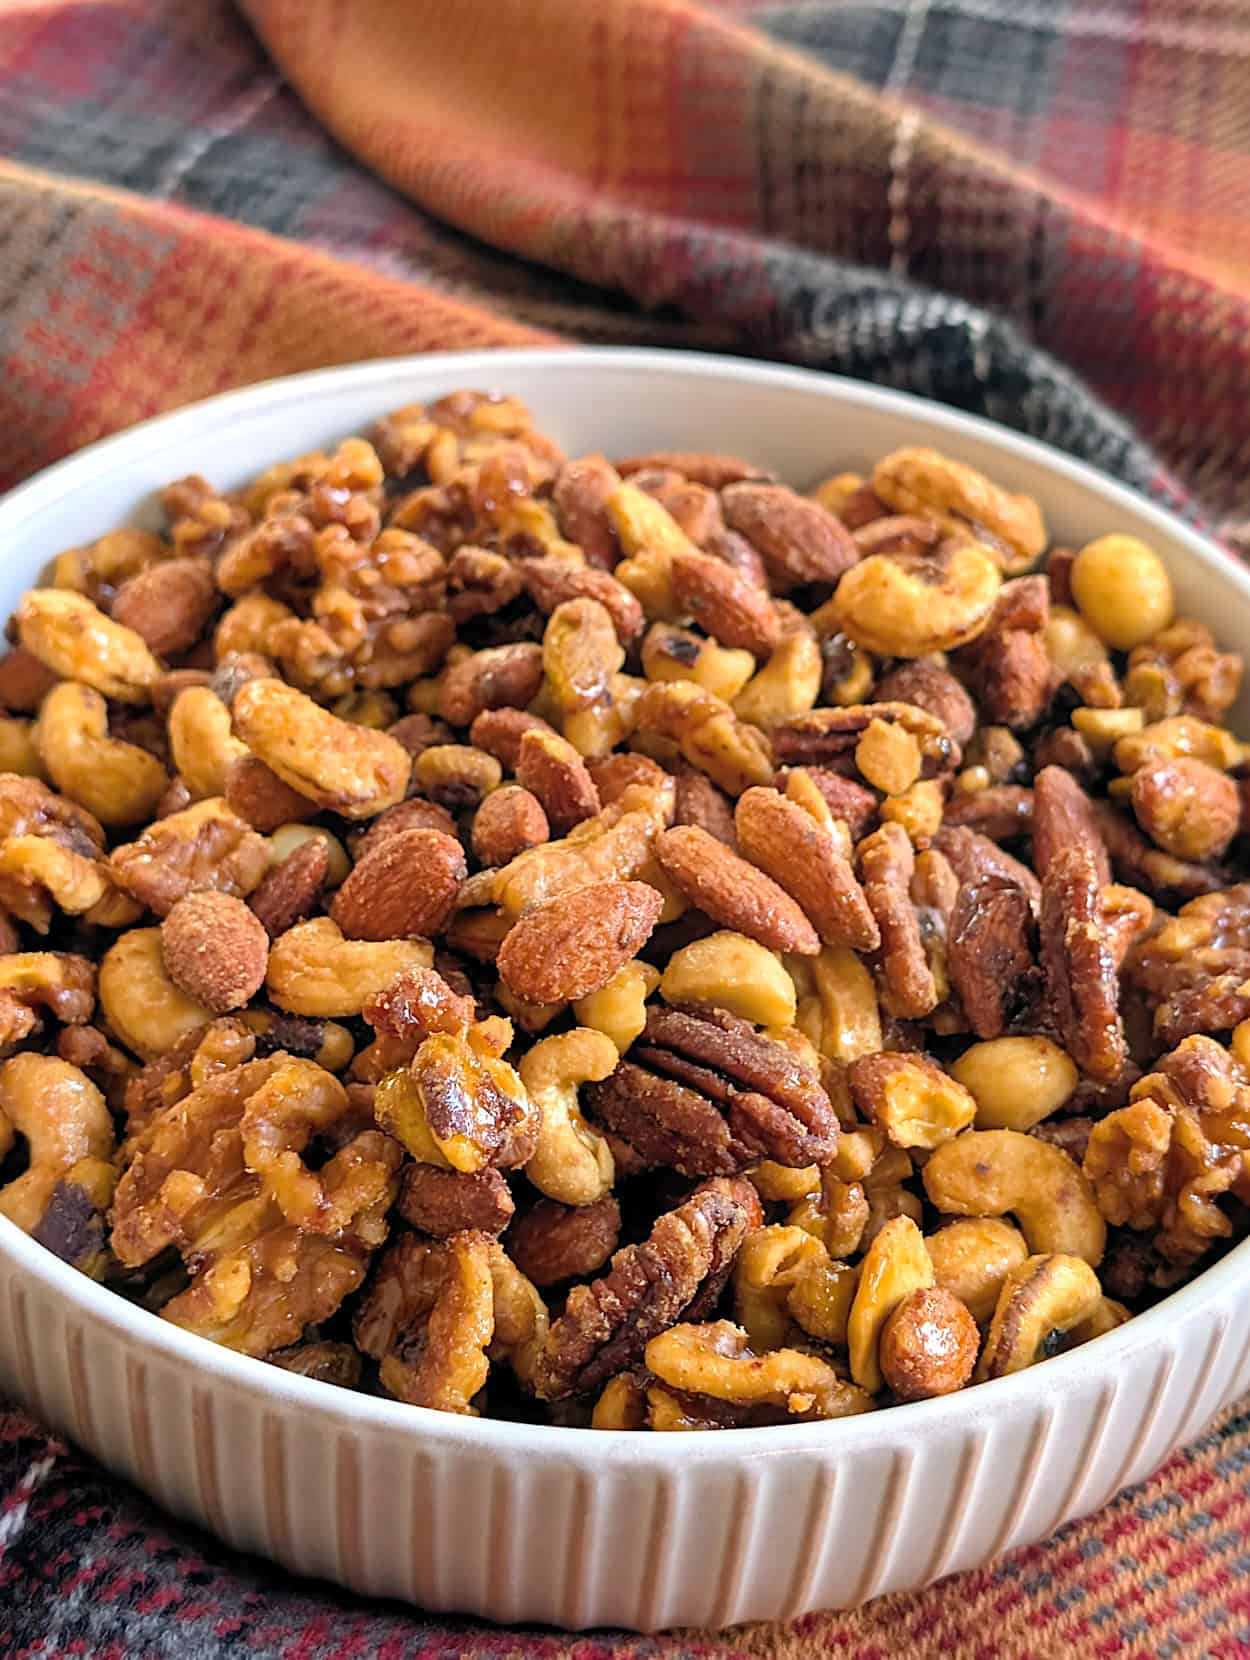
I’ve been wanting to try my hand at a recipe for party nuts because they’re great to have on hand for the holiday season and a perfect addition to any charcuterie board. This Candied Sweet and Spicy Nuts recipe came out perfectly crunchy, caramelized, and balanced with just the right amount of heat. These sweet and spicy mixed nuts only require 4 ingredients, and they roast in just 10 minutes. Sweet with a little heat is the best combination!
These party nuts also make great gifts! Last week at my Friendsmas party, I packaged them in cute little window boxes along with a few cookies for guests to take home and they were a hit!

**This post may contain affiliate links. The cost to you doesn’t change, but I may make a small commission from items purchased.
Why You’ll Love This Recipe
- Quick and easy. These nuts take just a few minutes of prep time and only a 10-minute bake.
- Flavorful, simple ingredients. The sweet maple syrup is the perfect pair to the heat of the chili crisp.
- Great for parties and gifting. Cocktail hours, holiday parties, charcuterie boards, hostess gifts or party favors!
- Make-ahead friendly. Store in an airtight container and these nuts will stay crisp for days, so definitely make them ahead of time.

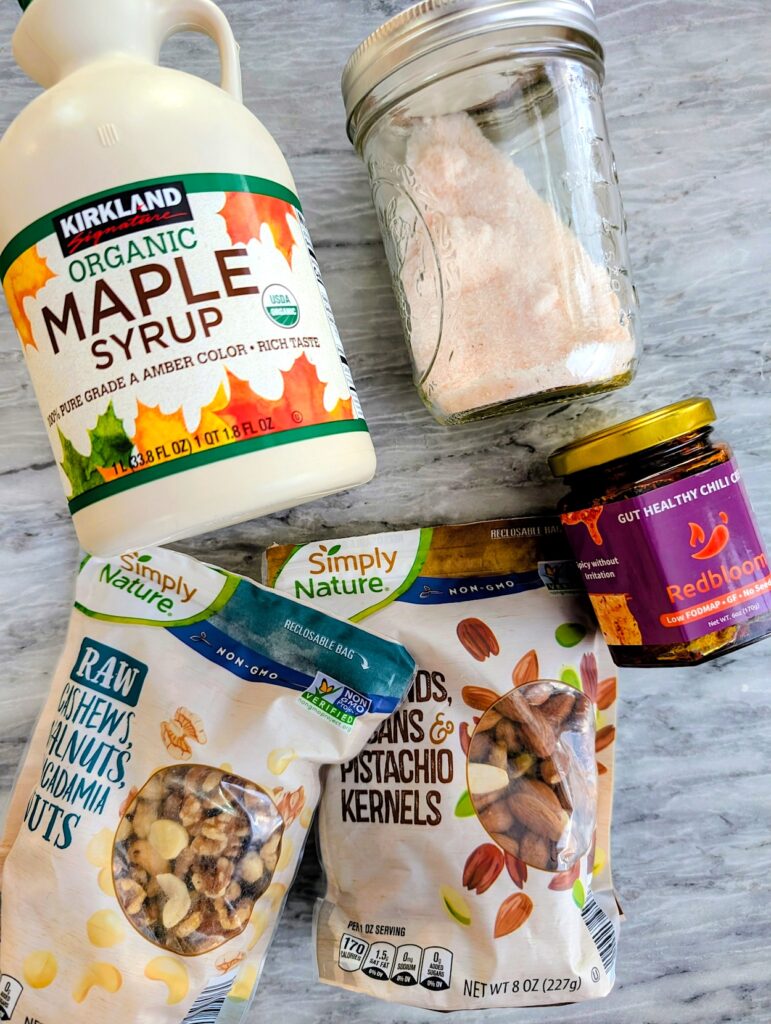
Key Ingredients
- 16 oz Raw Mixed Nuts – You can use any combination you like. I love these and these from Aldi!
- ⅓ cup Maple Syrup – Creates that yummy caramelization. *Make sure to use 100% pure maple syrup and not a sugar-free or other version. I use this syrup from Costco.
- 1½ tsp Chili Crisp – Adds the heat, crunch, and that special flavor.
- 1 tsp Salt – Rounds out the recipe and brings everything together.
Equipment
- Medium mixing bowl with lid
- Measuring cup
- Measuring spoon
- Spatula
- 2 Cookie sheets
- Parchment paper
- Tongs
- Serving bowl or platter
How to Make Candied Sweet and Spicy Nuts
- Preheat your oven to 350°F and line a baking sheet with parchment.
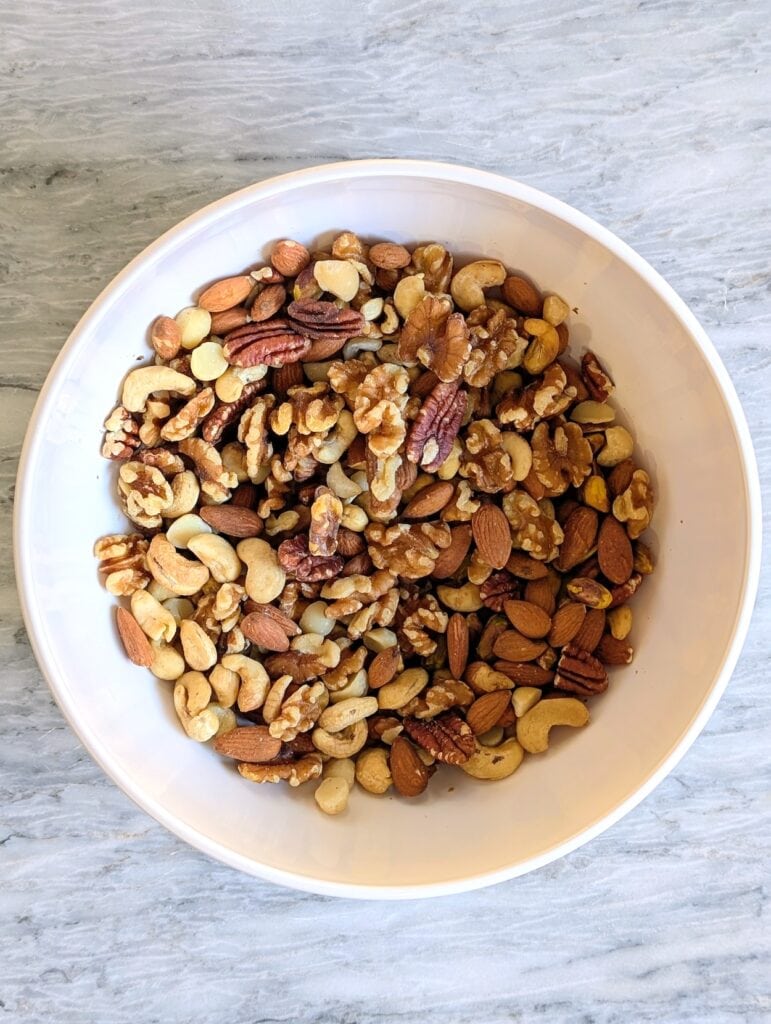
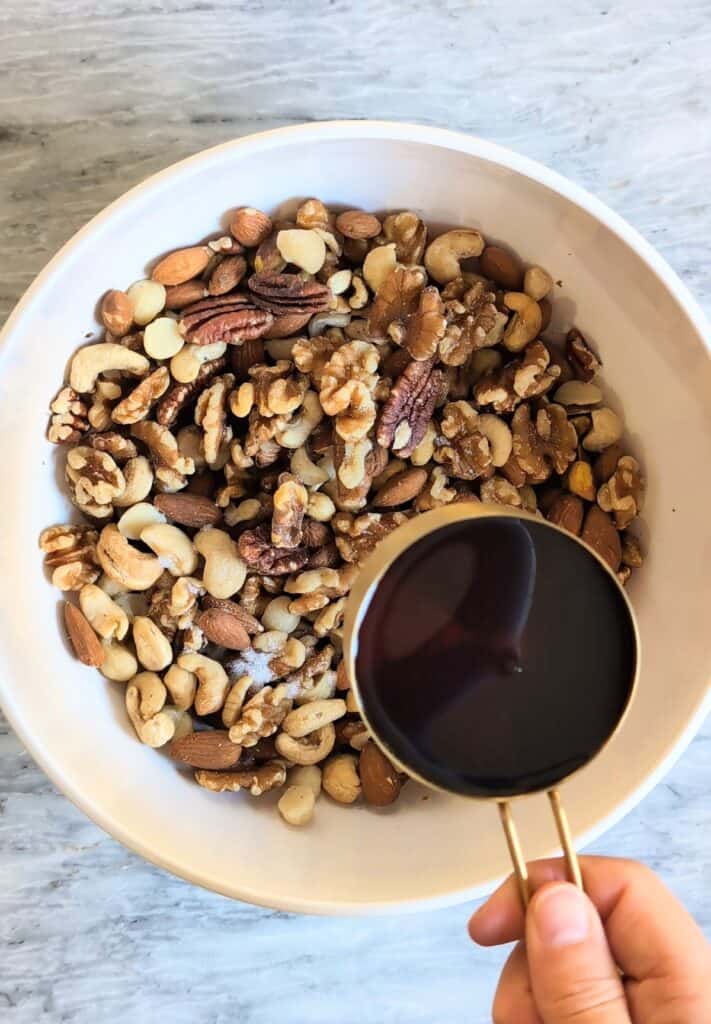
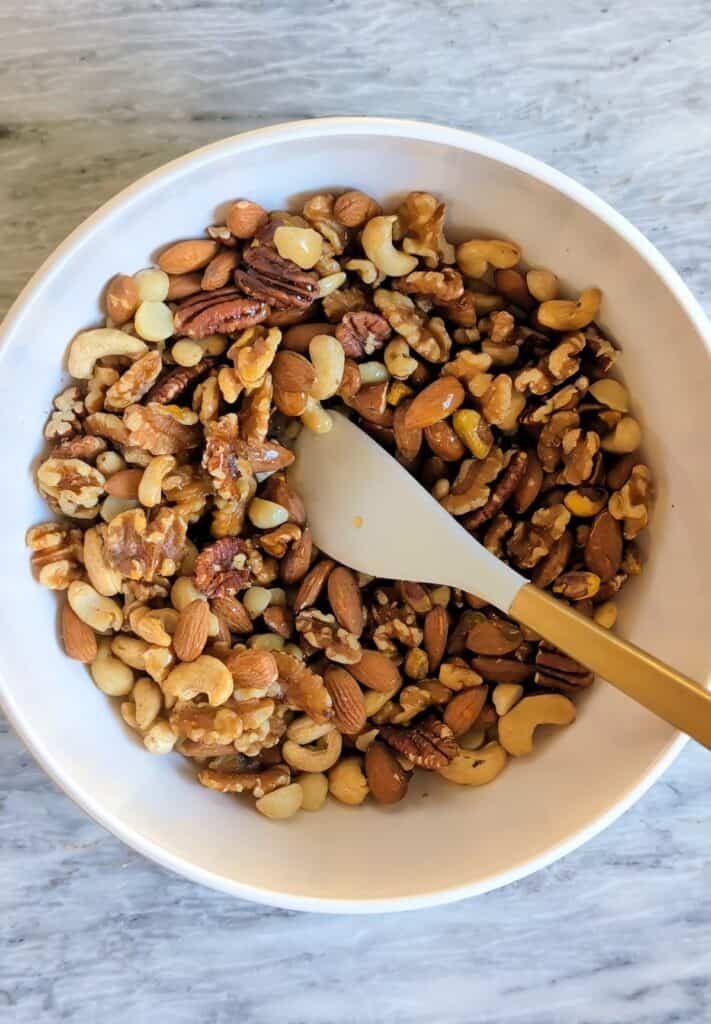
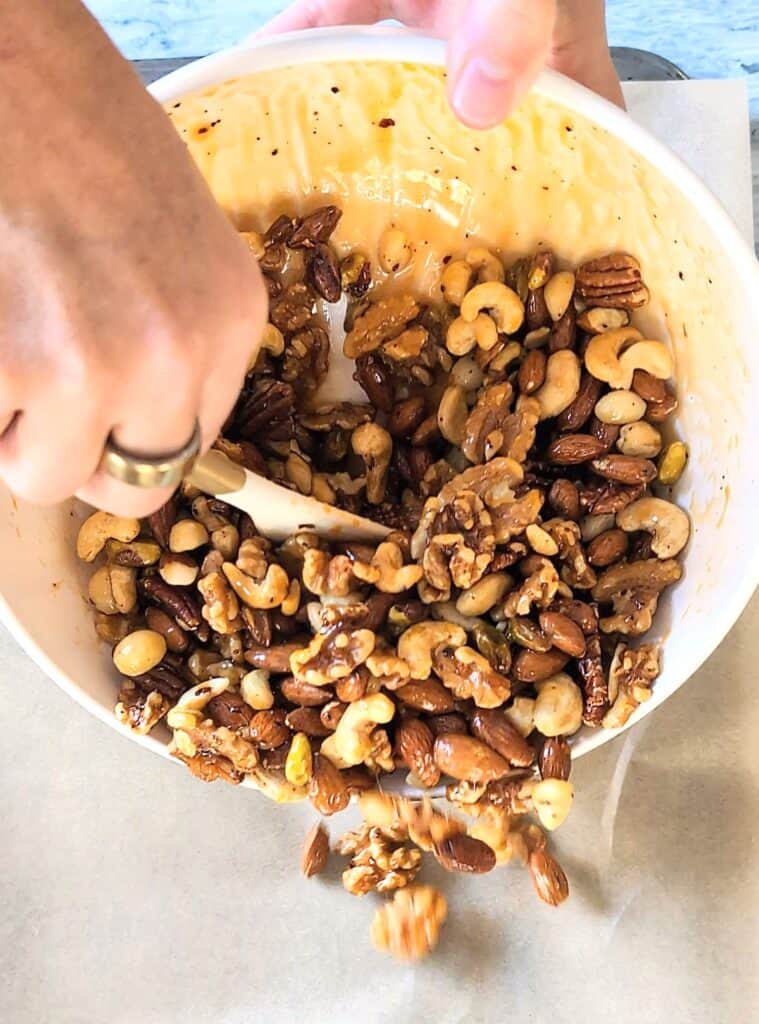
- Place the nuts in a mixing bowl and add the maple syrup, chili crisp, and salt. Stir well to coat.
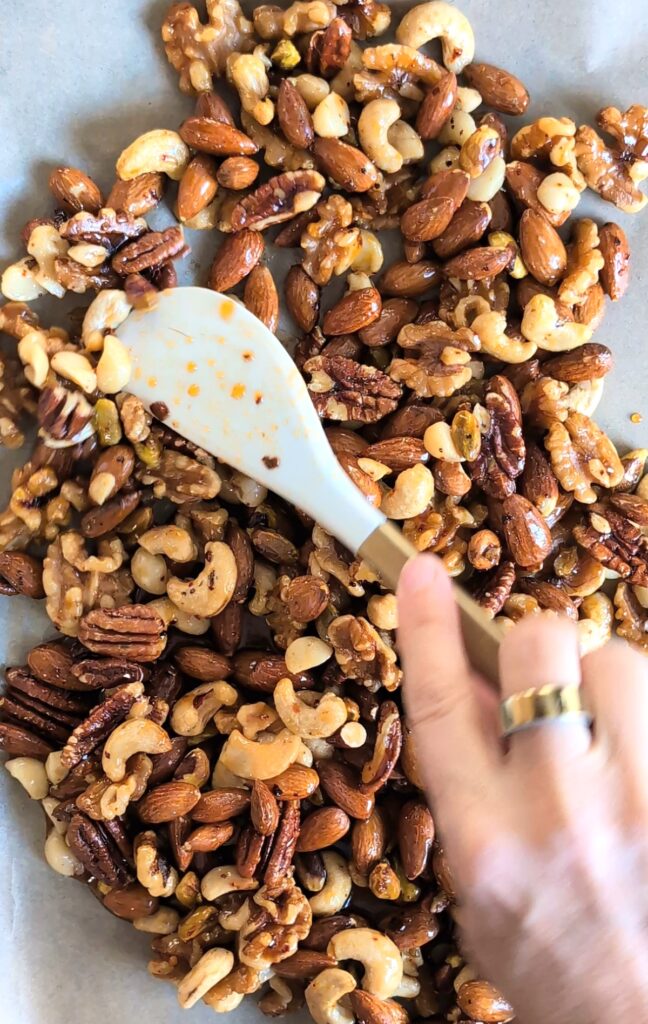
- Spread the nuts in an even layer on the parchment paper-lined cookie sheet.
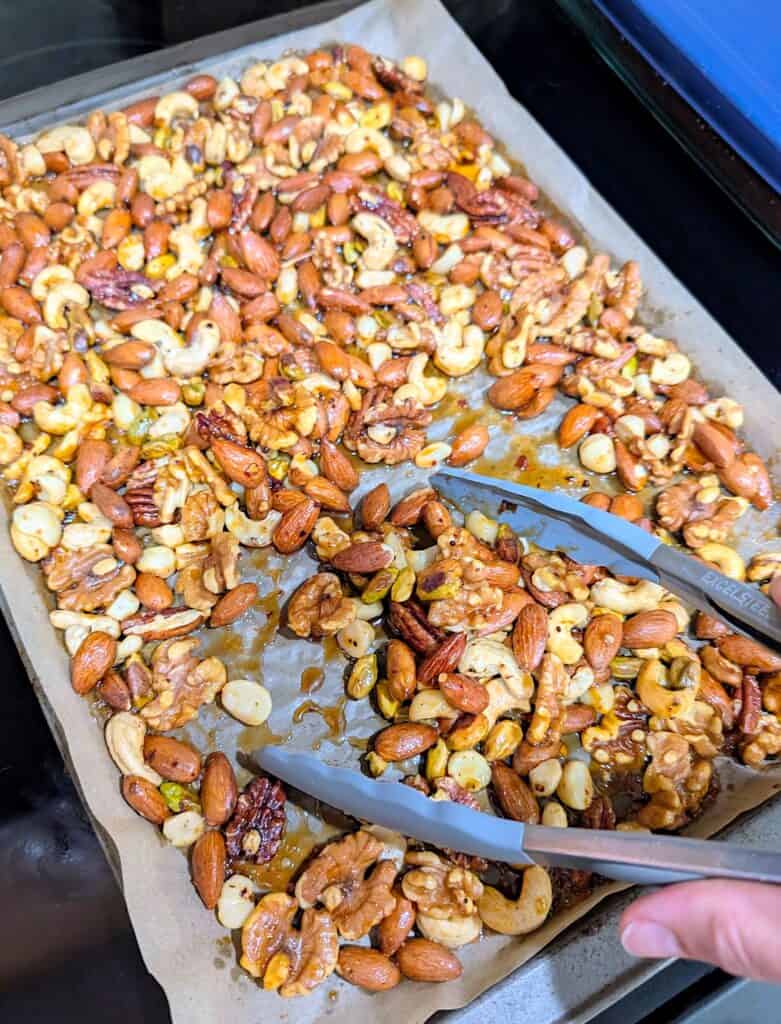
- Bake for 10 minutes, tossing halfway through.
- Remove the nuts from the oven and, using tongs, transfer them to another cookie sheet lined with parchment paper, spreading them out in an even layer. This removes the nuts from any remaining liquid on the sheet pan, ensuring they don’t stick together.
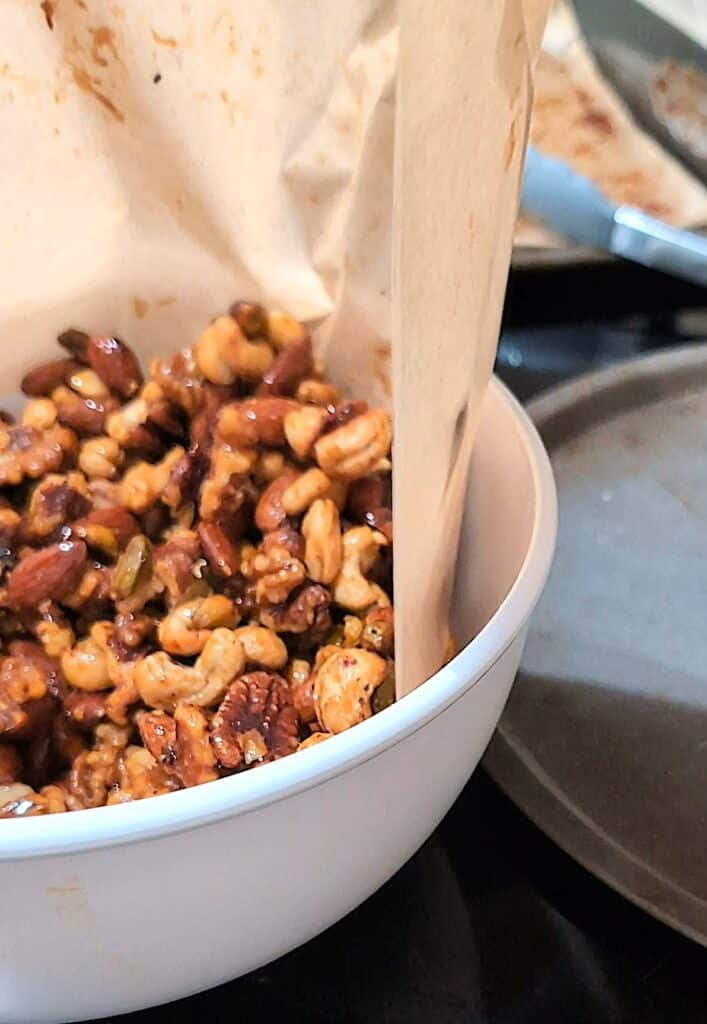
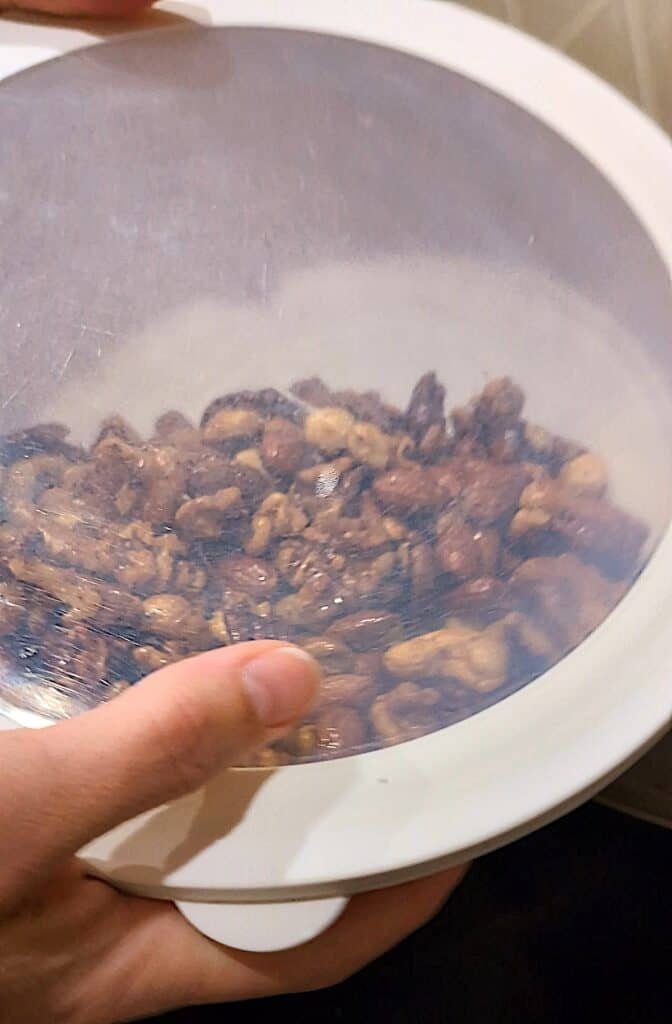
- Once the nuts have cooled for a minute or two, pour them into a clean mixing bowl with a lid.
- Give the bowl a few shakes every couple of minutes until fully cooled, and the nuts do not stick together. *Remove the lid between shakes so the heat is not trapped in the bowl.
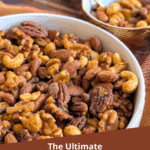
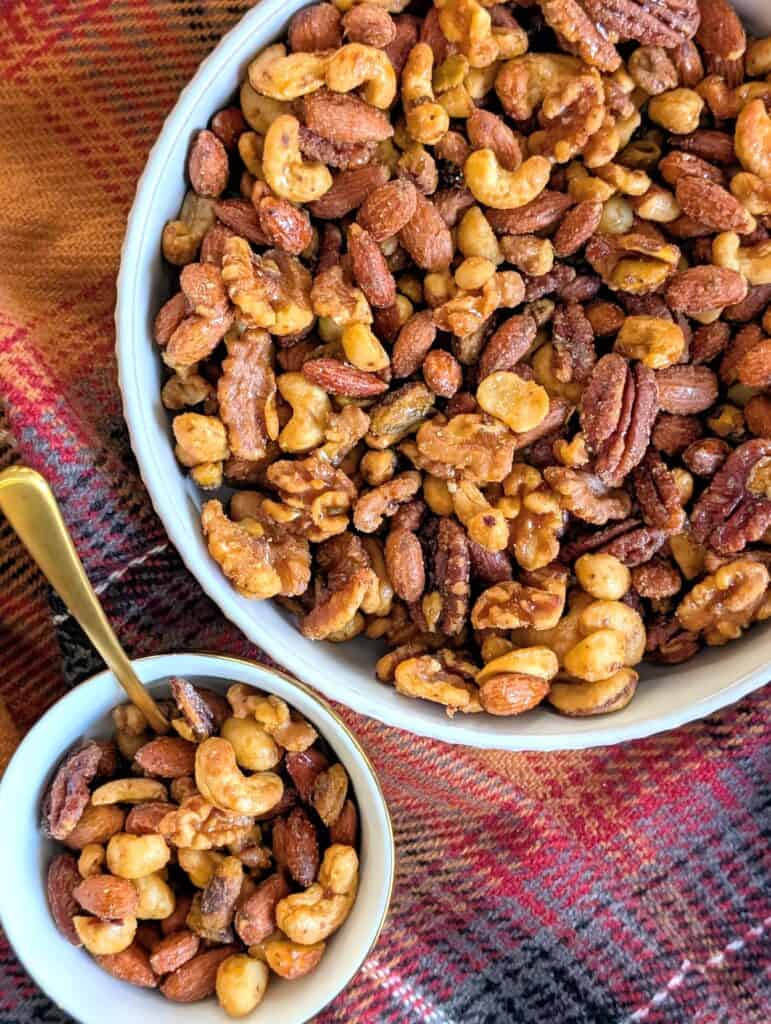
- Put the nuts in a serving bowl and enjoy!

Pro Tips for the Best Sweet and Spicy Nuts
Make sure to use parchment paper. Otherwise, the nuts will be a sticky mess on your sheet pan.
Spread the nuts out as best you can. A single layer is best for getting that crunchy texture and keeping them from sticking together.
Watch closely in the oven. 10 minutes is perfect for my oven, but all ovens are different, so keep an eye on them towards the end of the bake to make sure they don’t get too toasted.
Don’t skip the cooling instructions. Since the nuts are “candied”, they tend to stick together in clusters, so make sure you are shaking consistently in the bowl until fully cooled.
Recipe Riffs & Swaps
Taste and adjust. If you love more heat, add another 1/2 tsp of chili crisp before baking.
Can’t find chili crisp? Try a teaspon of red pepper flakes and a drizzle of extra virgin olive oil, a few of pinches of cayenne pepper, or a teaspoon or two of your favorite hot sauce.
Want Holiday Vibes? Sprinkle with cinnamon and add some chopped fresh rosemary to the nut mixture.
Serving Ideas
- Serve on a charcuterie board or cheese board.
- Serve as a pre-dinner snack as guests arrive.
- Package in jars with a ribbon for holiday hostess gifts or party favors.
- Add to salads for an extra sweet and spicy crunch.

How to Store
Let the nuts fully cool, then store in an airtight container:
- Room temperature for up to 1 week
- Freezer for up to 2 months; thaw to room temperature
Final Thoughts
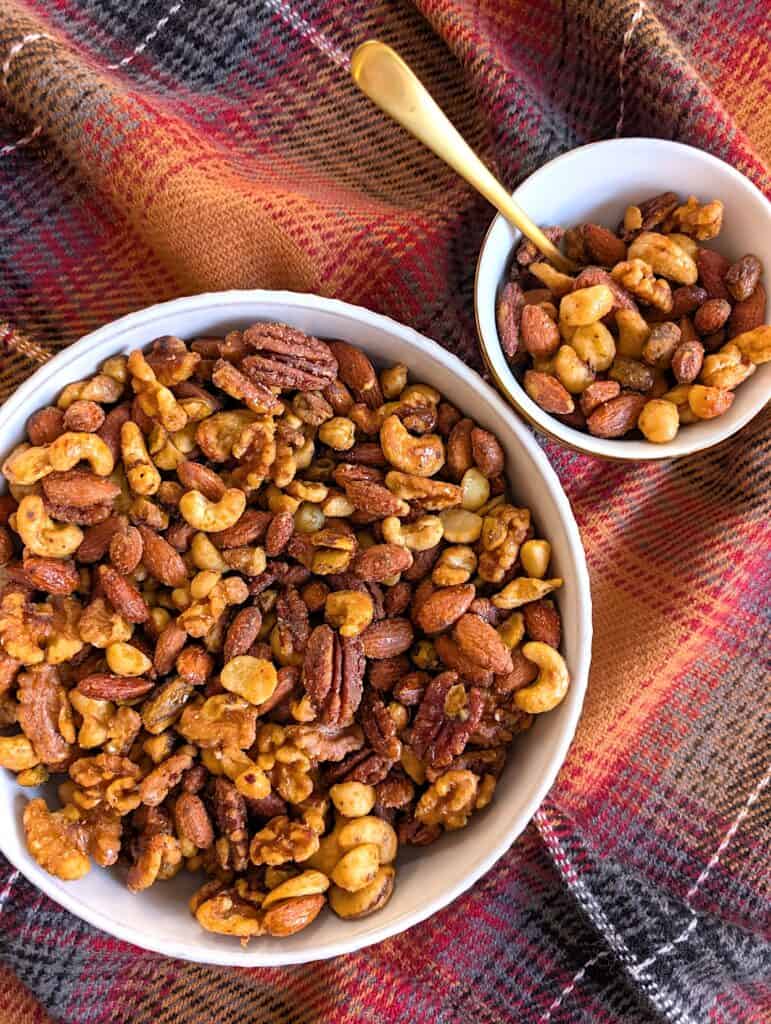
These Candied Sweet and Spicy Nuts are not your average party nuts. The heat from the chili crisp makes this recipe extra special, so if you can find it, I highly encourage trying it out. It has the best umami flavor and a little goes a long way!
With just a handful of simple ingredients, you get a crowd-pleasing snack that’s crunchy, cozy, and delicious! Whether you’re hosting a holiday party, filling a snack bowl for friends, or packing up homemade gifts, this is one of those recipes you’ll want to make all season long.
Looking for another easy holiday party recipe? Try my Boursin Cheese Dip with hot honey or my 3-ingredient BBQ Smoked Sausage Bites!
Candied Sweet and Spicy Nuts Recipe
Ingredients
Equipment
Instructions
- Preheat your oven to 350°F and line a baking sheet with parchment.
- Place the nuts in a mixing bowl and add the maple syrup, chili crisp, and salt. Stir well to coat.
- Spread the nuts in an even layer on the parchment paper-lined sheet pan.
- Bake for 10 minutes, tossing halfway through.
- Remove the nuts from the oven and, using tongs, transfer them to another sheet pan lined with parchment paper, spreading them out in an even layer. (This removes the nuts from any remaining liquid on the sheet pan, ensuring they don't stick together.)
- Once the nuts have cooled for a minute or two, pour them into a clean mixing bowl with a lid.
- Give the bowl a few shakes every couple of minutes until fully cooled, and the nuts do not stick together. *Remove the lid between shakes so the heat is not trapped in the bowl.
- Put the nuts in a serving bowl and enjoy!
Notes
- Make sure to use pure maple syrup. I’ve found that other types of syrup do not work as well.
- Make sure to not skip the cooling and tossing steps or the nuts will stick together and form clusters instead of remaining loose.
Happy Hosting!